Getting Started with Power Apps: Building Your First App

Microsoft Power Apps is a service that empowers everyone—from business users to developers—to create custom applications without writing a lot of code. A canvas app in Power Apps lets you design the user interface by arranging controls and fields on a blank canvas. This guide walks you through creating your first canvas app step by step.
Step 1 – Sign in to Power Apps
- Open your web browser and go to powerapps.microsoft.com.
- Select Sign in and log in with your Microsoft account. When you’re signed in, you’ll land on the Power Apps home screen.
Step 2 – Create a new canvas app
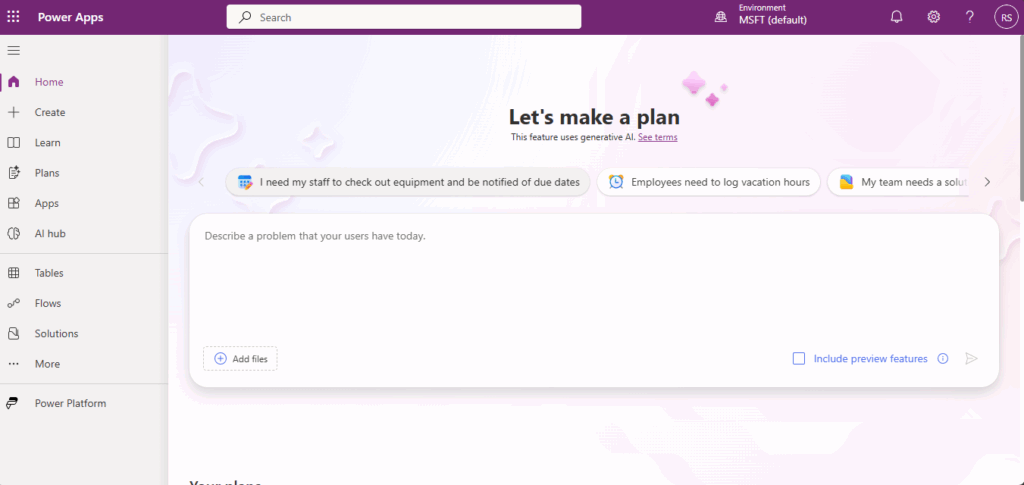
- From the home screen, choose Create on the left navigation menu.
- Under Start from blank, select Canvas app. You can also start from a sample or template if you see one that suits your scenario.
- Enter a name for your app and choose the format (desktop,tablet or phone) based on how users will access it. Click Create to open the canvas designer.
Step 3 – Connect to data
Canvas apps become powerful when they connect to external data sources such as Excel tables, SharePoint lists or Dataverse tables.
- In the canvas designer, select Add data from the left‑hand panel.
- Choose a connector (for example SharePoint, OneDrive for Business, SQL Server or Dataverse).
- Authenticate if prompted and choose the table or list you want to use. The data source will appear in the data panel for use in galleries, forms and other controls.
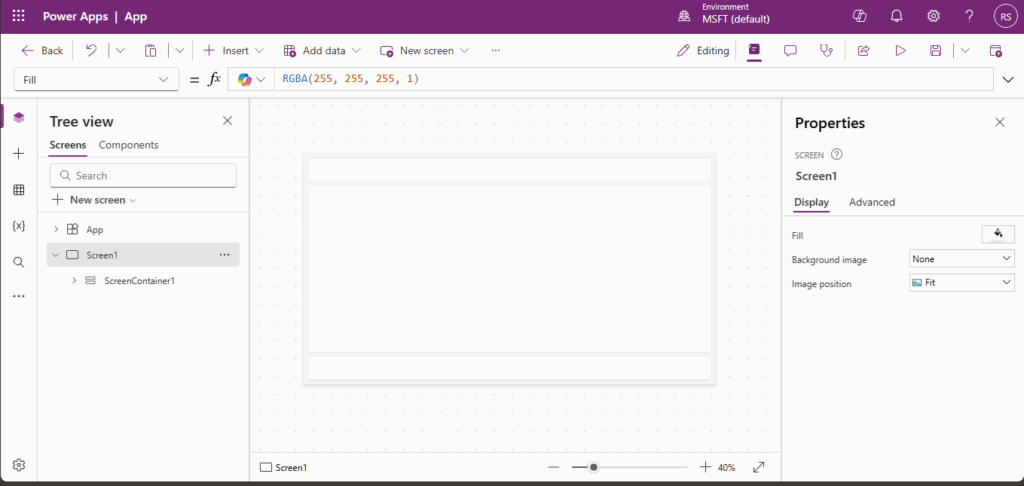
Step 4 – Build the user interface
At this point you have a blank canvas ready for controls. You’ll typically create three screens: a browse screen that lists records, a detail screen that shows a single record and an edit screen for adding or editing data.
- Add a gallery: On the Insert menu, choose Gallery and select a layout (vertical or horizontal). Set its Items property to your data source (for example
Items = '[YourDataSource]'). The gallery will display a list of records. - Customize the gallery: Select the gallery and use the right‑hand pane to choose which fields appear. You can rearrange fields, change the layout or adjust colours to match your organisation’s style.
- Add a form: Insert a Form control on a new screen and set its DataSource property to the same data source. Set the form’s Item property to
Gallery.Selectedso that it shows details for the selected record. Use an EditForm if you want users to edit existing records or a DisplayForm if you want it to be read‑only. - Use input controls: Drag labels, text inputs, drop‑down lists and other controls onto your screens. Bind each control’s Default or Text property to the appropriate field in your data source.
Step 5 – Add navigation and logic
An app becomes truly interactive when it has multiple screens and navigation between them.
- Create more screens: Use the New screen command to add screens for browsing, viewing and editing data.
- Navigate between screens: Insert Buttons or Icons and set their OnSelect property using the
Navigate()function. For example,Navigate(DetailScreen, ScreenTransition.Fade)opens the detail screen with a fade transition. - Add formulas: Power Apps uses a simple Excel‑like formula language. You can set the Visible property of a control to a conditional expression, use
If()to branch logic or usePatch()to write changes back to the data source.
Step 6 – Test, save and share your app
- Preview the app: Select the Play button (a triangle icon) in the upper‑right corner of the designer to run your app. Test navigation, data entry and any formulas you’ve added.
- Save your work: Choose File → Save, select a location (Power Apps uses Dataverse to store apps by default) and save the app. Give it a clear name and description so collaborators know its purpose.
- Share the app: From File → Share, invite colleagues by entering their email addresses. Assign roles (such as user or co‑owner) and specify whether they can edit the app.
Conclusion
Building a canvas app in Power Apps is an intuitive process of connecting data, designing screens and adding logic. With just a few steps you can produce a functional business application that runs on the web and mobile devices. Continue experimenting with controls, formulas and data sources to expand your app’s capabilities and tailor it to your specific needs.